Connect Students with Content Using NearPod
UCET 2014 Conference "Over the Shoulder" Presentation
Murray High School / Murray, Utah
Thursday, April 3 at 2:30pm
Printers run out of paper. Projectors burn out their bulbs. Students with nothing to do get bored.
And teachers who use NearPod... NEVER RUN OUT OF GREAT STUFF TO TEACH!
Follow along with these 10 steps to using NearPod to engage your students on individual devices with exciting content, in less than 10 minutes:
|
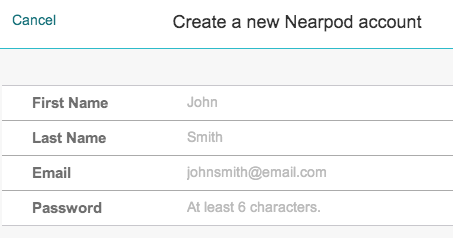
Step 1: Log on to your computer (OK, this part along might take 10 minutes depending on your computer) and go online to create a free NearPod account at http://nearpod.com/signupA/
One more caveate, depending on how fast you type it could take a little while to enter things like your name, email and password. If this whole process ends up taking more than 10 minutes, I accept no responsibility. Let's move on. Step 2: Once you're online, click on the pretty blue header for the "Store", this is where you'll go to get lessons and content. Notice all the FREE content that's available at NearPod! Step 3: Click on the "Free Lessons" link for today just so you can get started without having to invest too much money or energy. You're already gambling about 10 minutes of your time if you're reading this, and maybe 20 minutes if you're actually at the UCET conference playing along. Step 4: Look how much free stuff there is! This could be another time waster just checking out all the content, so let's instead use the "Search" tool in the upper right hand corner. Today's demo will be about extreme weather, specifically hurricanes. Type "hurricanes" into the search bar and you'll find the lesson "Tropical Cyclones" Click the "FREE" button under the preview window and this lesson will download to your account so you can access from any device. Step 5: Click on the link back to "My Library", look for the icon for "Tropical Cyclones", and when you click on that you'll see a button to start the "Live Session"
Side note - every lesson you ever use will be available and stay in your NearPod library!
Step 6: Now we're cooking! Err, NearPodding!
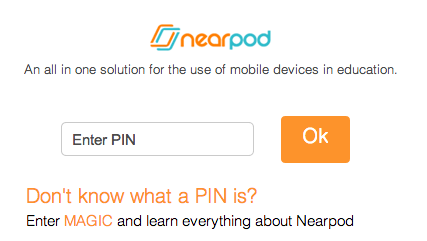
Once you start a live session you will see on your screen a PIN for students to join your session. Share this pin with your students on a dry erase board or projected image so they can start up their NearPod apps, weblinks, or website and join your lesson. Students will not have to log in to NearPod or create an account. They only have to go to the Nearpod.com website and click the Join Session button, then enter the code you just shared. 
Step 8: Turn off your projector.
You don't nded it. Instead of having the whole class look up at the one image you're sharing, they can look at their own iPads, Chromebooks, MacBooks, even Windows computers work! 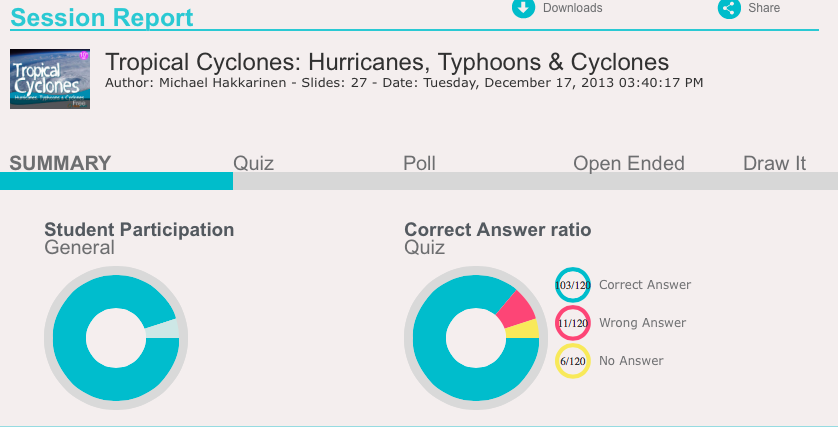
Step 10: Keep using NearPod
There is so much in here for everyone simply because of one resource - LearnZillion. And if you don't find what you're looking for, it's also really easy to make your own content in PowerPoint or Keynote and then upload it to NearPod and add interactive features. |

Step 7: Teach!
It's easy with NearPod. Move through your lesson just like you would slides in a PowerPoint. But this ain't like no other PowerPoint. This activity will have a place for students to sign in, enter their thoughts about weather, answer questions about what you just read, even draw pictures to share with you and the class. 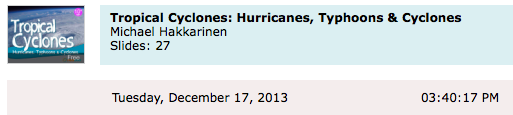
Step 9: Don't even think about using the printer.
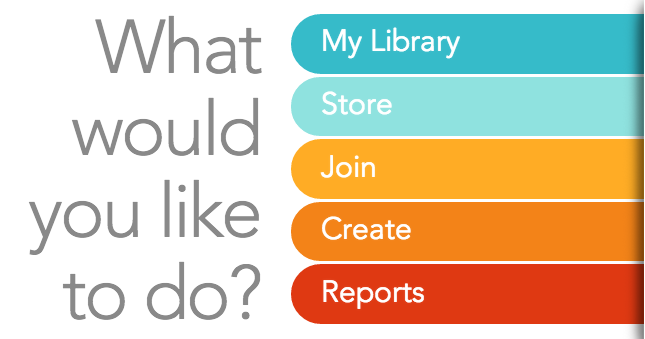
When you're done the lesson, just leave the activity by clicking the arrow in the upper left hand corner. Need grades? Click the "House" and return to the main screen, then select "Reports". All of your lessons are stored here by date and a click will take you to the option to see reports. 
|


For more great info on NearPod, check out the amazing work done by a couple other EdTechs from the Canyons School District:
Katie Dewey's Over the Shoulder UCET Presentation at http://katiedewey.weebly.com/nearpod.html
And Dustin Worm's NearPod Segment from the UCET Workshop "20-20-20: Three Alternatives to Clickers"
Katie Dewey's Over the Shoulder UCET Presentation at http://katiedewey.weebly.com/nearpod.html
And Dustin Worm's NearPod Segment from the UCET Workshop "20-20-20: Three Alternatives to Clickers"
